Menu
Table of contents
And that contact can be made in a number of ways. For example, by clicking on the phone number within your website or by clicking on the email address within your website.
This blog article is about the latter, because I'm going to show you how to do this using Google Tag Manager and Google Analytics 4.
Before we begin
Before you can measure email clicks, you need to have Google Analytics 4 installed via Google Tag Manager. How to do that I'm not going to explain to you now, because I've already written a blog about that:
Roadmap for installing Google Analytics via Google Tag Manager.
Therefore, step one is to read that article and implement what I explain there. And no, you may not skip that step. So you may not proceed until you read the above article.
Making clicks on the email address measurable: the tag
Now we are going to start the real work. You need to log into Google Tag Manager, so you will see the screen below.
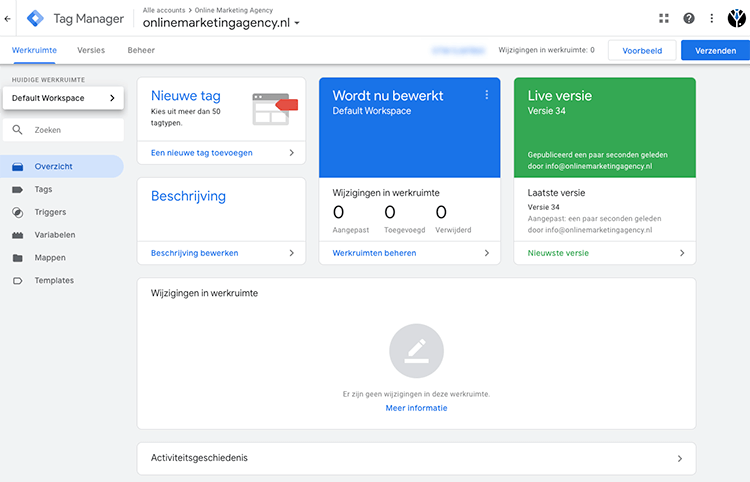
Step 2: In the overview, click on "New tag. This is the block at the top left.
Step 3: Replace "Nameless tag" in the upper left corner with "Click mail address," for example.

Step 4: Click on the top box containing the word "Tag Configuration.
Step 5: From the row on the right, click on "Google Analytics" and then Google Analytics: GA4 Event.
Step 6: Under Measurement ID, enter the measurement ID of the corresponding Google Analytics 4-property. You can find this in Google Analytics under Manage > Data Streams > Click Data Stream > Measurement ID:

Step 7: Under Event Name, enter the name of the event. Note that the name you enter here is the name that is displayed in Google Analytics 4. Note that you cannot use spaces here. Therefore, always use low dashes and give your event the following name: click_mailaddress
Making clicks on the email address measurable: the trigger
If you performed upper correctly, then it's time to add the trigger.
Step 7: Click on the white field where the word "Triggers" appears.
Step 8: In the Triggers screen, click anywhere so that a new screen appears.
Step 9: Click the blue plus sign in the upper right corner and name the new trigger you just opened Mail Address
Step 10: Click on the white field containing the word "Trigger Configuration.

Step 11: On the right, click "Left Only.
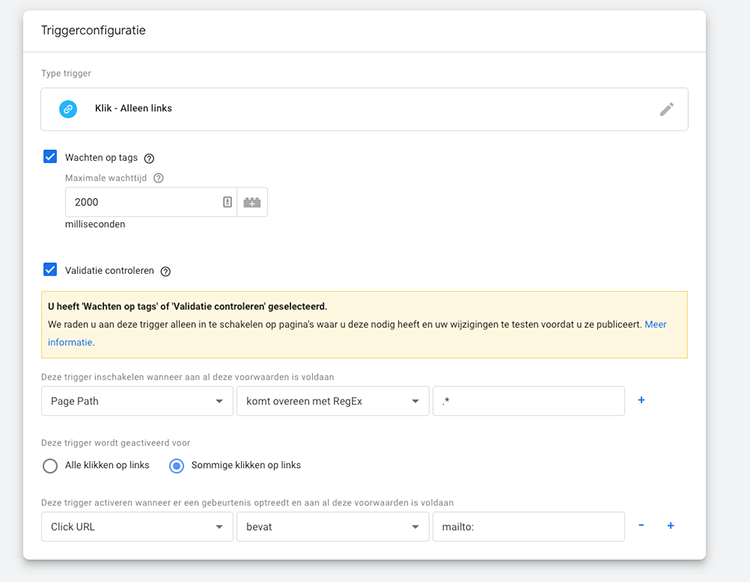
Step 12: Fill in the following information:
- Check wait for tags
- Check validation
- Under conditions, enter 'Page Path', 'matches RegEx' and .* (yes, a period and then an asterix)
- Then click on 'Some clicks on links'
- Set the last conditions as follows: 'Click URL', 'contains' and 'mailto:' (yes, with colon at the end)
If even that went too fast for you, I have a screenshot here for you where it all looks perfect again.
Step 13: Then click save in the upper right corner and click save again.
Placing and testing the Tag and Trigger live
You have everything set up properly by now. Very good! To make sure it all really works, you still need to ship the Tag Manager container.
You can do this by clicking "Submit" in the upper right corner, then "Publish," then "Continue.
Now it's live and it's time to test if you did it right. We are going to do this using the preview mode. The preview button can be found right next to the submit button.
Here you need to click on it after which you need to enter the url of your website and click on 'connect'. After this your website will open on a new screen and you should see a message from Google Tag Manager indicating that Tag Manager is connected.
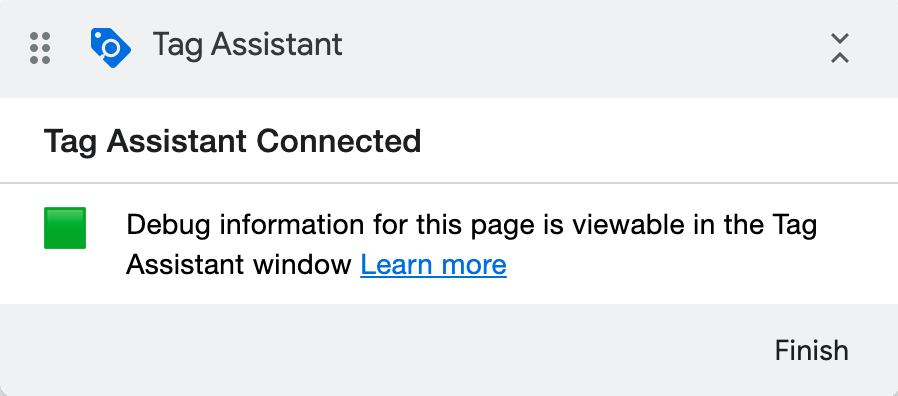
Important: You should also see a new Google Tag Manager screen called Tag Assistant [Connected]. You will need this screen later. Therefore, do not click the screen away, but click on the other tab in which your website is open.
Now it's up to you to find a mail address on your website and click on it. Then if you did it right, your e-mail program will open where you can send a new e-mail message. This screen of your e-mail program can be clicked away.
It's now time to check in Google Tag Manager to see if the event occurred. You do this by adding the aforementioned Tag Assistant [Connected] screen, which opened as an additional window when you started viewing your website in preview mode:
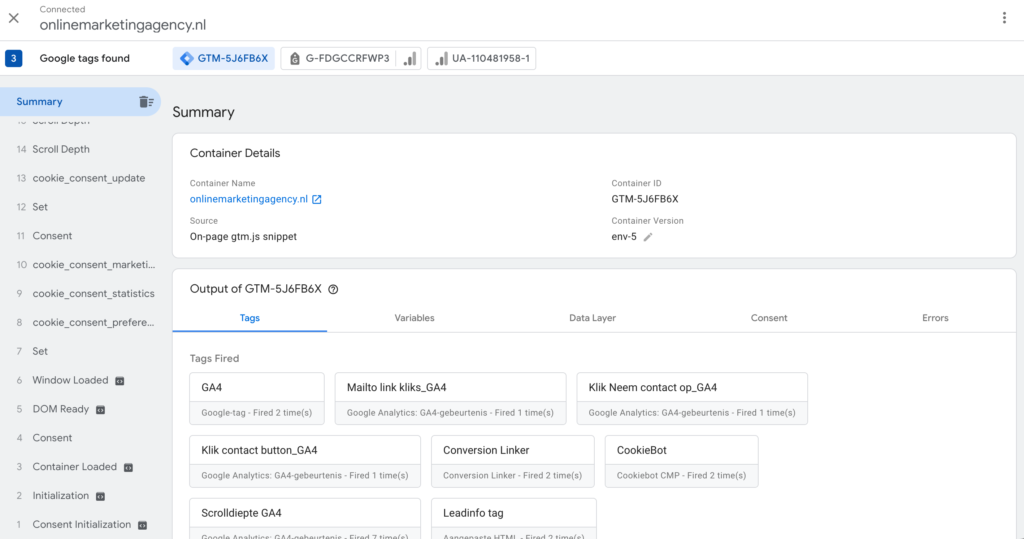
Here you see all the events in a row that you performed in the preview mode. In the left screen, look for "Link Click. If all goes well, here under Tags Fired you will see the previously created Tag named Mail Address.

Measuring the event as a conversion within Google Analytics
Unfortunately, you're not quite there yet.
Currently, clicking on the email address is seen as an event, but of course we want to measure it as a conversion. However, you need to wait 24 hours before you can do this because it takes a while for Google Analytics to measure all the data.
What you can already do is to execute the target you just created again. To do this, open an incognito window, go to your website and click on a link with the email address in it again until the email address program opens. Once the 24 hours have passed, you can continue with the next steps:
Step 14: Go to Google Analytics.
Step 15: Select the property within the account where you want to add the conversion.
Step 16: Click the "Manage" cog in the lower left corner.
Step 17: Scroll down until you see "Data View," then click on "Events.
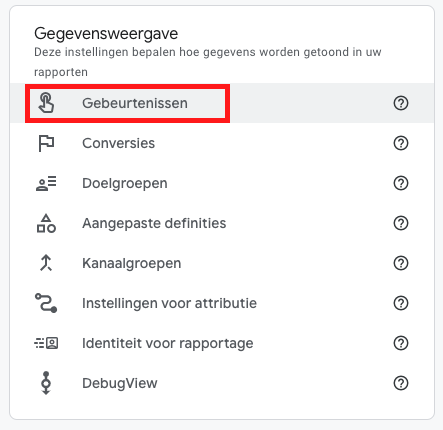
Step 18: Find the event that belongs to measuring the email address. If you have been following this tutorial, it is "Click_mailaddress.

Step 19: Mark the event as a conversion by turning on the slider at 'Mark as conversion'.
Now what? Now you are really ready and you can also see the conversions back in Google Analytics.





2 Responses to "Tutorial: Measuring clicks on email address as conversion in Google Analytics 4"
Hi, question...
What exactly does "wait for tags" do?
Thanks for your response
Greetings,
Koen
Hi Koen,
The "wait for tag" feature is intended to ensure that the tag is given enough time to fire before the Web site redirects you to another page. This way, you can be sure the tag will fire and your measurement will be more accurate.