Menu
Table of contents
So that I can get started without fuss and without explanation. And today I will show you how to do that within a WordPress website.
Adding someone to your WordPress website in 8 steps
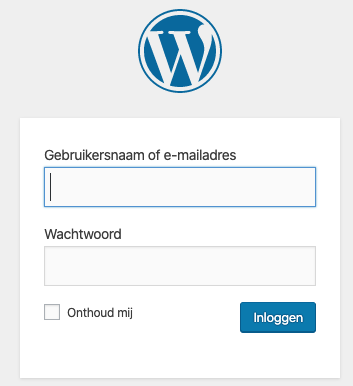
Step 1: Go to your WordPress website login page.
If you don't know what its URL is, ask your web designer, webmaster or other person who manages or maintains your website.
Step 2: Enter your username and password and click "Login.

Step 3: On the left side of the WordPress dashboard, look for "Users.
If you don't see this listed, then you don't have all the rights, so you have to ask the same person again as in step 1 to give you these rights.
Step 4: Click the "Add New" button at the top.
Step 5: Enter the username and email address of the person you want to add.
Should you become a client of mine, info@onlinemarketingagency.nl.

Step 6: Leave the 'send user notification' check mark on and select the role you want to give the person.
When you are going to add me, you need to give me the role "Administrator. Are you going to add someone else? Then you have to be careful with this. An administrator can delete other administrators.
Want to add a copywriter, someone to do some minor SEO work, or an acquaintance who wants to watch? Then never give the role administrator, but select another role.

Step 7: Click 'New User' and the invitation will be sent.
Step 8: The email address you added will receive an email containing a link. When the person clicks the link, they can create a password and then log in immediately.
This guide is part of a series of blogs in which I explain how to give people access to the various Google tools. If you are also looking for how to add someone to Analytics or Tag Manager, for example, I have the following links for you:


Written by: Daniel Kuipers
Daniel is the founder of Online Marketing Agency. He constantly scours the Internet for the latest gadgets and tactics and blogs about them in understandable language. Well, sometimes.